DIY Stoney Clover Inspired Backpack

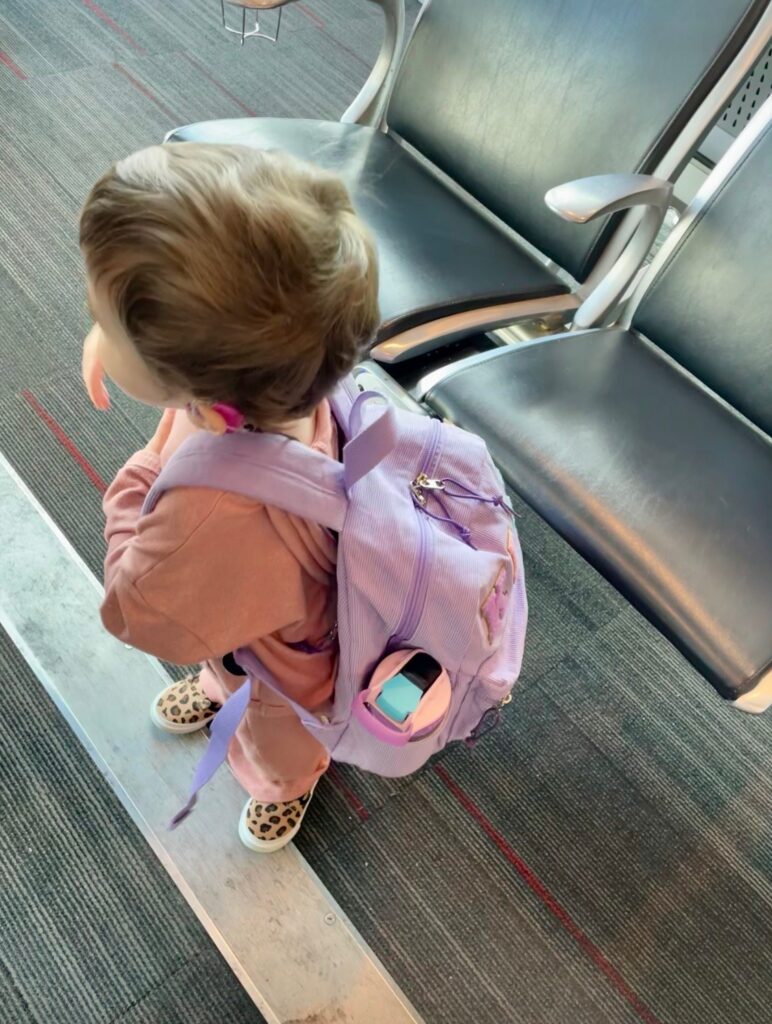
After my daughter finished chemo and radiation we as a family took a trip to Disney World to celebrate! I surprised her with her very own backpack filled with fun new entertainment items for the plane ride. I filled her bag with snacks, sticker books, an iPad for movies, crayons, and coloring books. I placed her water bottle in one side pocket and her mini stuffed animal in the other. I was honestly able to fit a lot more inside the backpack than I anticipated. Because of that, I had to be conscious about how heavy the items were. I limited it to only the necessities.
Supplies:
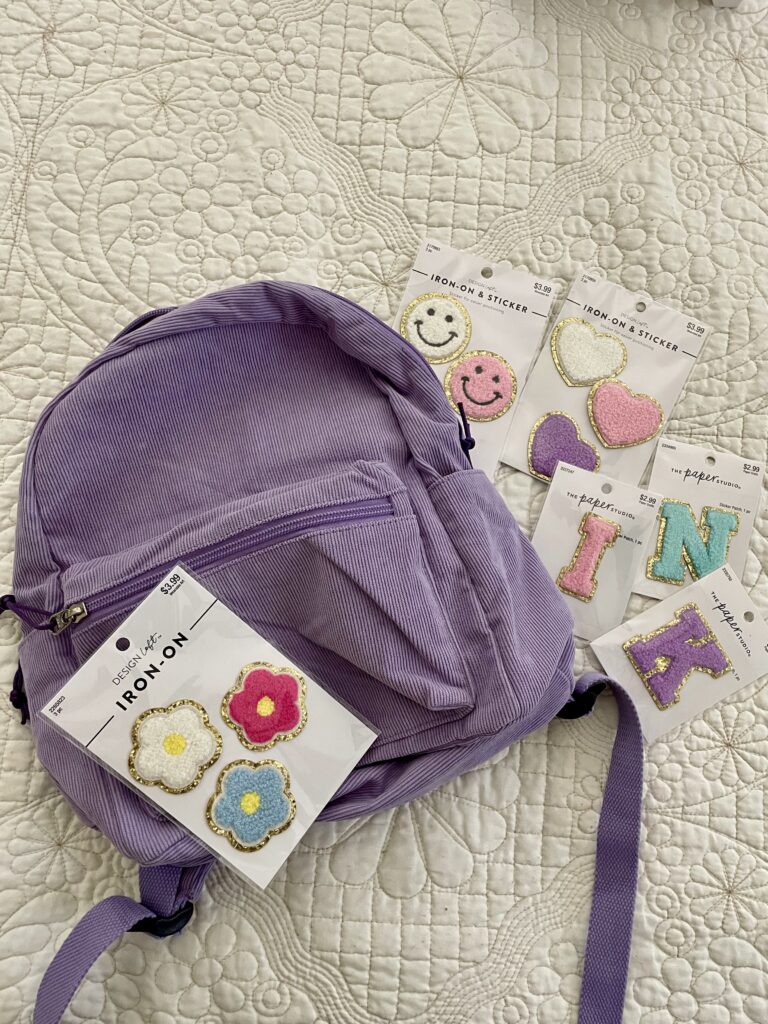
*The backpack I bought isn’t a toddler backpack, but a mini women’s backpack. I looked for what felt like days trying to find a simple toddler backpack, but I couldn’t find one. I found this one that I liked. The measurements ended up being just the right size for my toddler.
*I found all of the patches that I used at Hobby Lobby. You can find patches anywhere, I just liked the look and price of the Hobby Lobby patches. I found them when they were on sale and they were such a steal!
Directions:
- Flatten down your backpack.
- Choose your patches and lay them out on your backpack.
- Once your patches are laid out the way you want them, begin adding glue to the back of your patches one at a time. Once you add your glue to each patch, place your patch in its desired spot. Make sure that you have added enough glue before pressing down your patch.
- Allow the glue to dry before using.
